It was the beginning of March 2010 and the end of the second quarter of the certificate program. The major focus for the quarter was “Conceptual Strategies in Fiber Art” and looking at the creative process in general, and our own process in particular. Towards the end of the quarter, we were to reflect on an old piece, and use it as a springboard for a new piece, our final piece for the quarter. Since I couldn’t decide which piece to reflect on, I looked at two pieces, “Shamanic Connections” and “Finding the Patterns in the Puzzle of Life”. Working from those pieces and another idea that I got during meditation, I started on my piece “Pulling the Threads of Spirit into our Daily Lives”. I finished the piece the night before class, mounted it the next morning, wrote the reflection on it in the afternoon, and headed to class that evening.
For those of you reading this that have taken art classes, and have turned in work for critiques, you know what a challenging experience they can sometimes be. I had one of “those” critiques that night. In class we were asked to say whatever we wanted to about the work. I felt unprepared, and unsure of what to say. I started rambling on about unimportant details, because I couldn’t bring myself to talk about my personal angst issues which was what I had been thinking and writing about in my original reflection.
This is part of what I wrote: “The experience of doing this piece was both fun and challenging. The fun part was doing the work. When focusing on the tasks at hand, I would lose track of time and get absorbed in the processes. The challenging part was mostly on a personal and emotional level. This program has been helping me deal with all the issues that stopped me making art 20 + years ago. Working on this piece brought up the issues I have with the fundamental value of doing this type of work. The questions of; is it worth doing, is it a waste of time/money, etc. are staring me in the face. Making this piece, or any finished work, brings these issues to the surface where I have to deal with them. I have pushed myself out of my comfort zone.”
Back to the critique that night, the one positive comment I remember is someone liked the fact that I used a rectangle instead of a square which had been part of my original design. The one that really got to me was the instructors question and comment: “Is that blue blobby thing supposed to represent spirit?” to which I said yes, and he replied “It’s not really working for me”. Right… now what.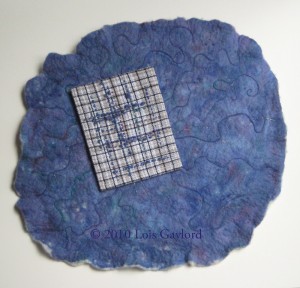
So that night after class I stayed up very late, and thought a lot more about the piece. So once I had gotten done “wallowing in my emotional stuff”, I was able to look at and think about the work itself. I liked the piece and it felt right when I was done, but there was something bugging me about it as well and I was unsure what it was. The piece didn’t say what I had intended, so in that sense it didn’t work.
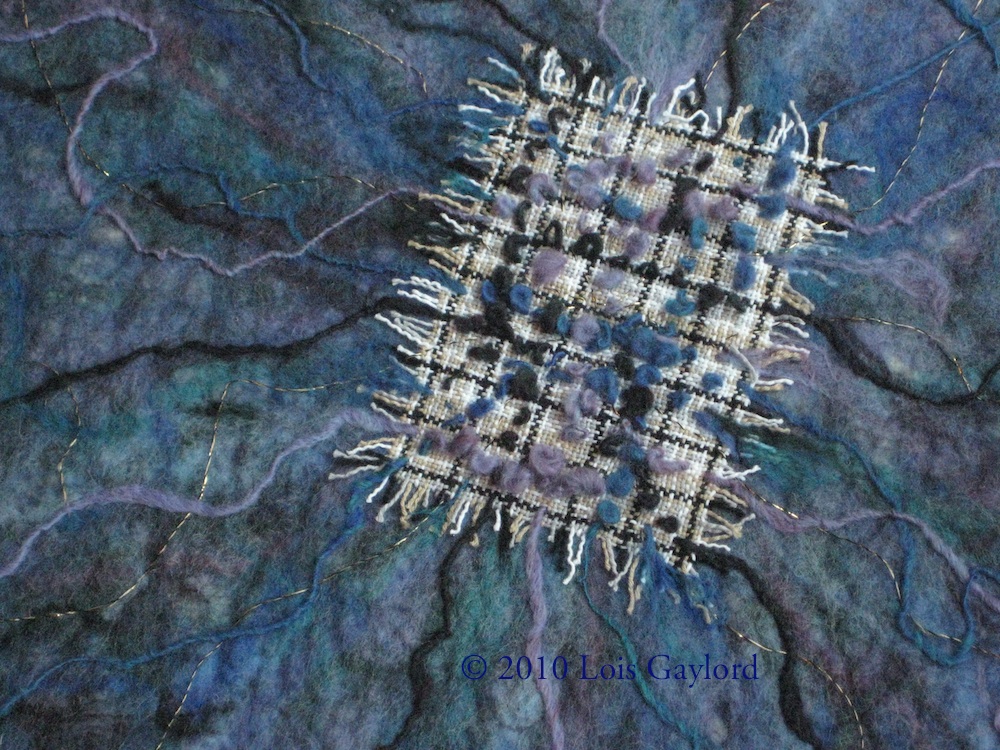
Visually, the woven part looked “plopped” down, and didn’t relate to the background. The felt background is very subtle and indistinct. Was it too plain? There wasn’t enough connection between the hand-spun yarn in the woven part and the felt background. The woven portion dominated the piece visually while being smaller than the background. It felt uncomfortable, tentative and unresolved. It was very unbalanced.
Then I asked myself what did this piece have to say, and this is what I came up with along with a new name for it:
“Daily Life Awakening to Spirit”
Dominating the piece is the woven portion representing daily life. It floats above the surface, removed and separate from the spirit world. The felt background resembles how spirit is viewed from this perspective. It is very hazy and indistinct. It’s unknown, you can only see things in that world if you look closely at it. The hand-spun yarn becomes spirit beginning to weave itself into our daily life but only in places, a bit at a time. The piece feels disjointed and unbalanced because this can be a very disconcerting state. You know that something is not right, that things are changing, shifting, but what and how is not known. It requires an enormous amount of trust to reside in this place and even more to continue on the journey to discover and embrace Spirit.
The following were my final thoughts about this piece and the experience of making it:
“Working on something this nebulous and intuitive requires an enormous amount of trust. I know that I’m not entirely in control of the process, and the work (or any given piece) can seem to take on “a life of it’s own”. This piece seems to have it’s own message and said what it needed to say. I need to pay better attention. So, hopefully I’m back on a productive path, doing something worthwhile.”
The next quarter I did a second piece, the one I had intended to make, “Pulling Spirit into Daily Life”, which will be the next post in my Art Story.
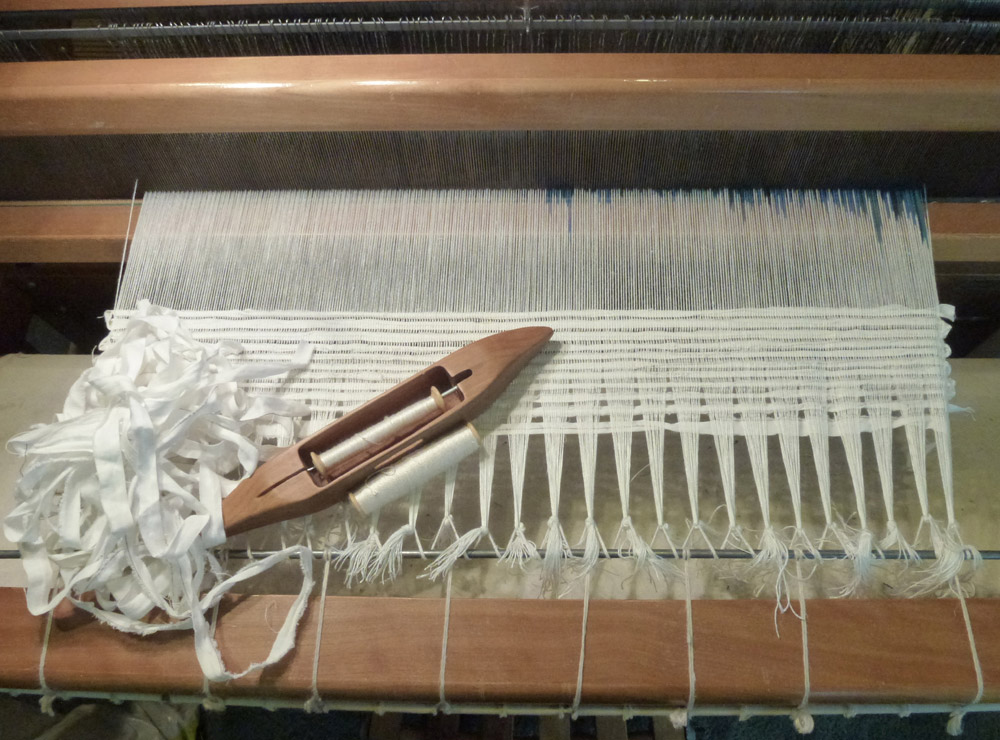
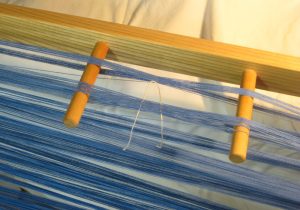
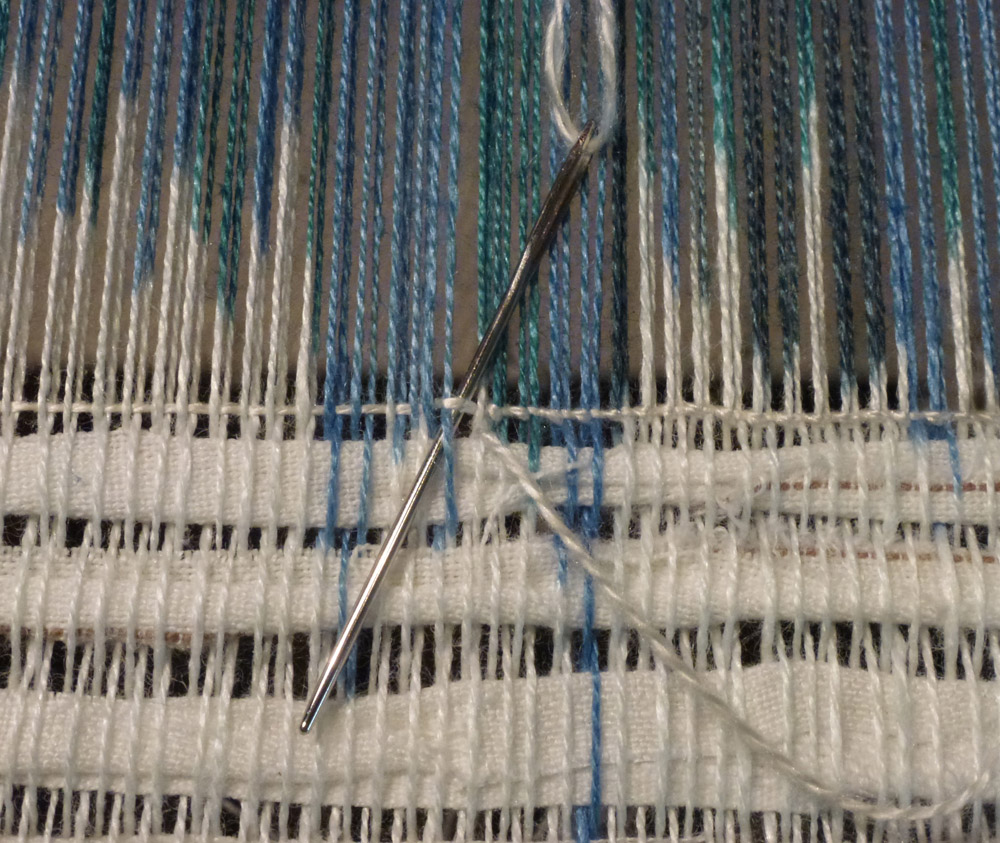 To secure the end of the weaving, I do a type of hemstitching. It essentially creates a row of twining at the beginning so it won’t unravel. Using a long tail of the weft, you go over one warp thread and then diagonally under the next one locking the weft yarn in place.
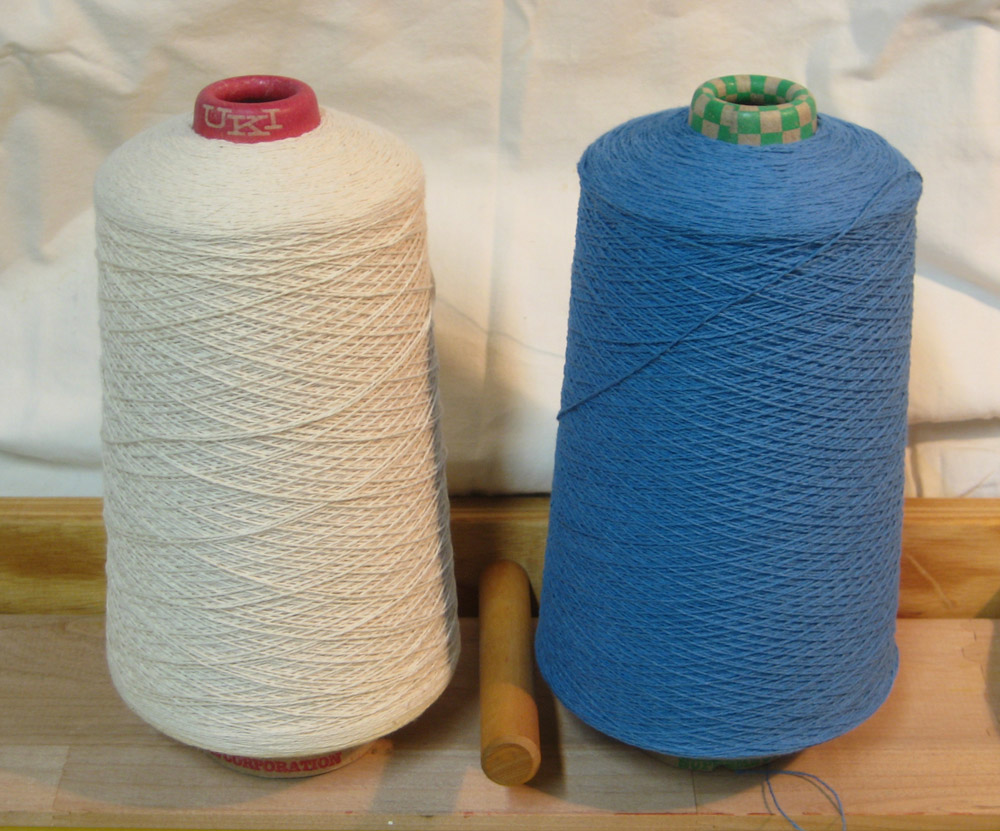
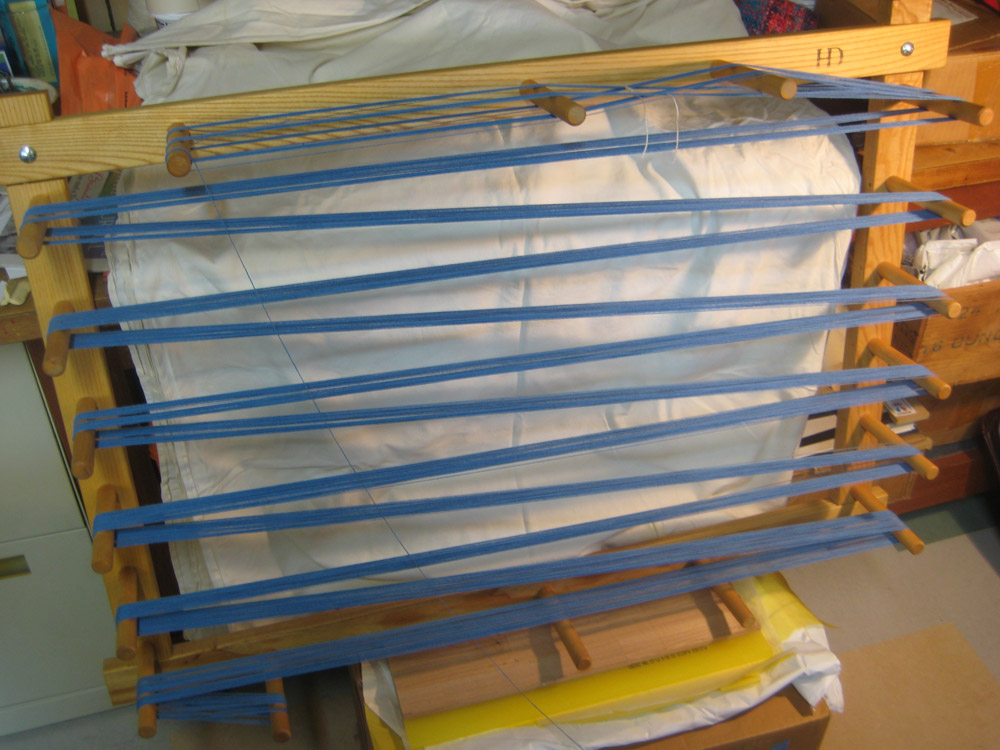
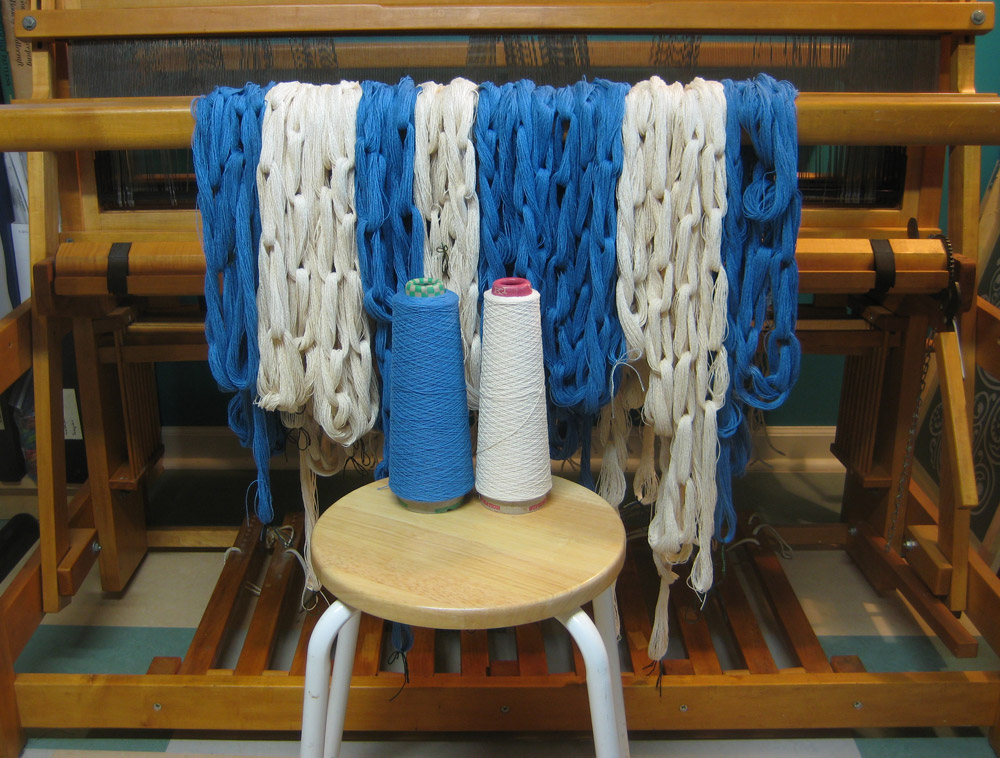
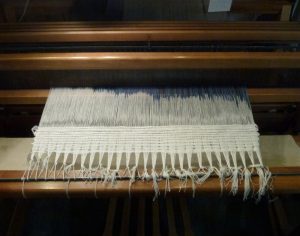
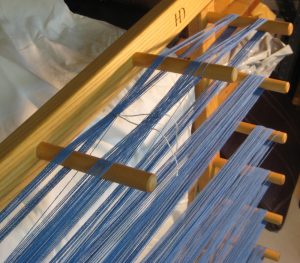
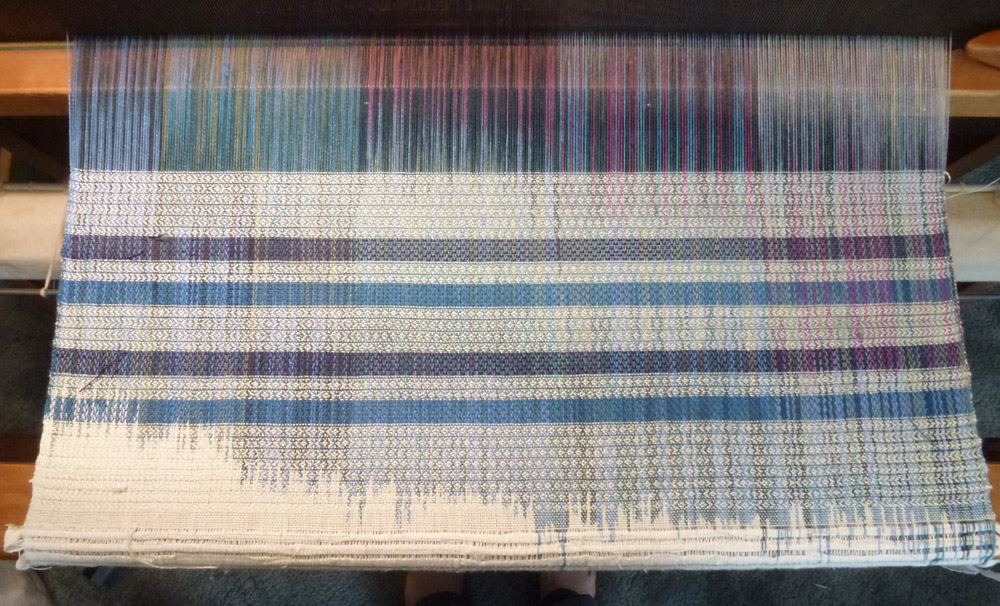 First 10 inches of weaving done. Warp is a 20/2 linen sett at 24 epi. Piece is 27” wide, so there are 648 warp ends. The main weft is a 20/2 silk yarn. The blue and purple are 8/2 Tencel. Note: before doing the hemstitching, wove in more header to the beginning of the dyed part of the warp (no photo).
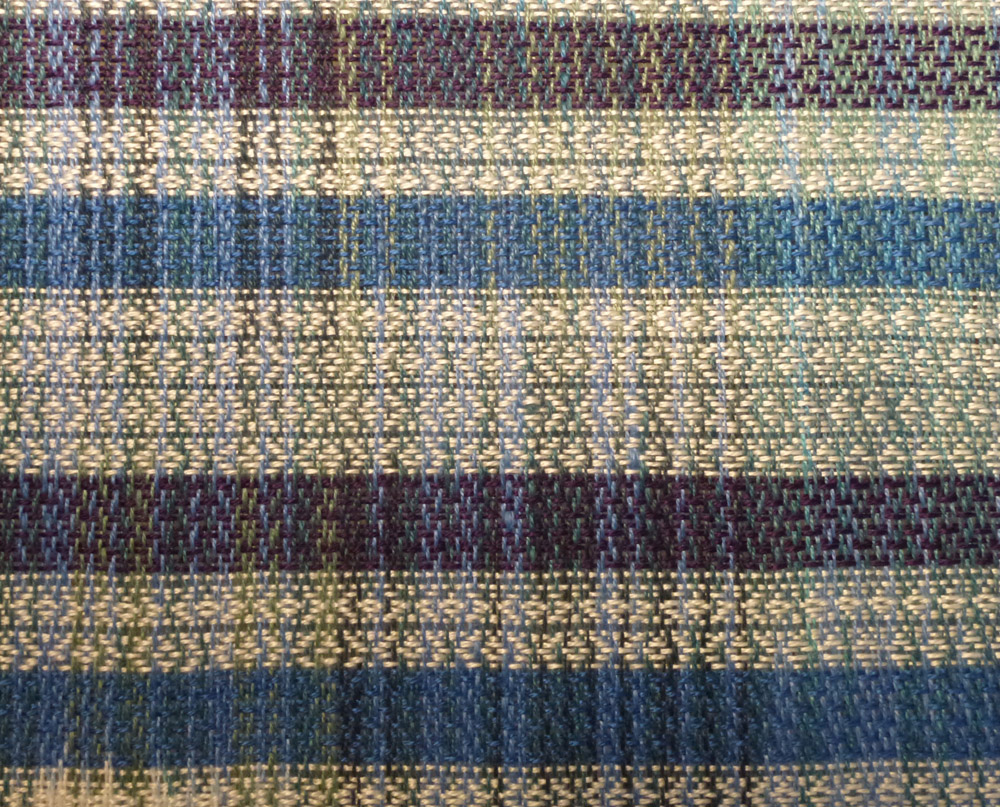
 Hello again. It’s been a busy almost 2 years since I last posted here. In the meantime, I started an