 Hello again. It’s been a busy almost 2 years since I last posted here. In the meantime, I started an e-newsletter and have been posting on my Facebook page, so my writing efforts have been appearing in those venues. Part of the reason it’s been so long is I ran into the proverbial writers block in my art story. Time to start on a different theme.
This coming September I will start teaching weaving at the Swedish Club in Seattle. I have been thinking about doing a series of posts on fiber processes so I decided to start with a few on weaving. These posts can be an introduction and a resource for my students.
The other kick in the rear I got is recently my husband’s cousin told me she has plans to start a sewing blog. We challenged each other to post something before our next family gathering in mid September. So here we go.
A couple of years ago I participated in a handwoven towel exchange project through the Seattle Weavers’ Guild. Having had the idea of writing a series of ‘how to’ posts, I’ve occasionally been taking process pictures of the projects I’m working on. The series of photos from this project includes most of the steps for setting up a loom.
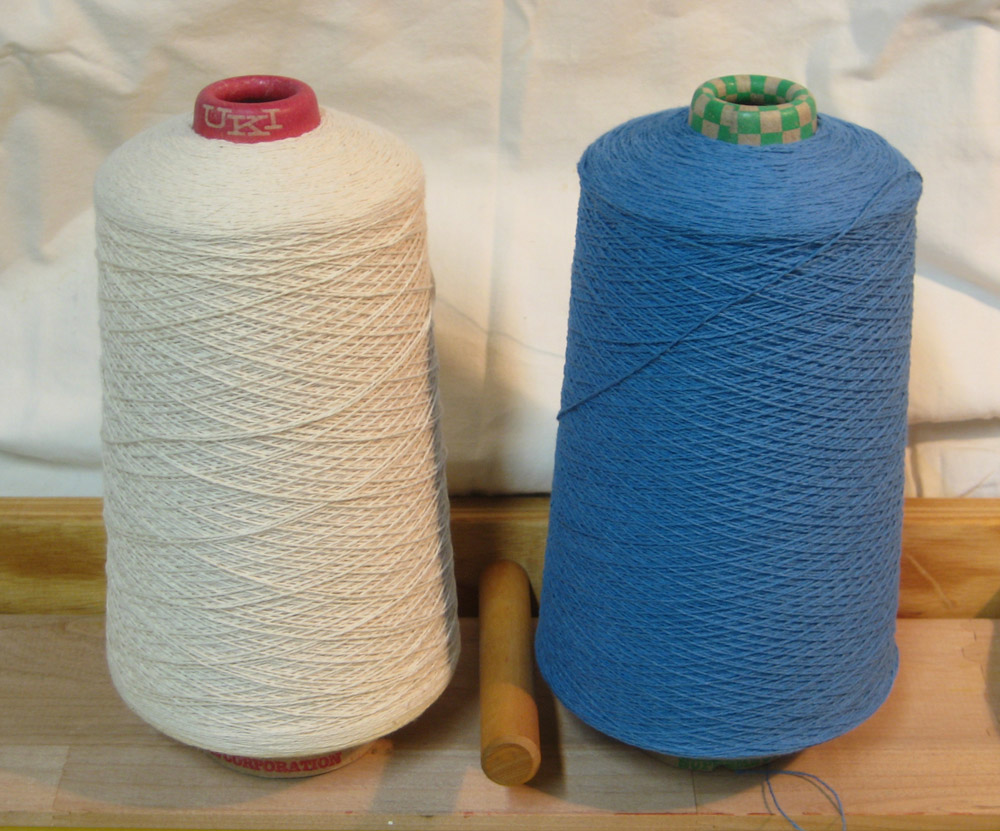
I started with these 2 cones of 8/2 matte cotton yarn.
So what is a towel exchange? Each participant wove a number of towels and brought the finished towels to a meeting. We drew numbers and took turns picking out other weaver’s towels. We all went home with the same number of towels, just they were ones woven by someone else.
Setting up a loom – Step #1 – Winding the warp
The warp are the lengthwise yarns that are under tension on the loom. After you decide the size of the finished cloth, you calculate the number of warp threads (or ends) and the length you’ll need. This project needed a total of 480 ends, each 12 yards long for a total of 5,760 yards. Which for this yarn was about 1.7 pounds.
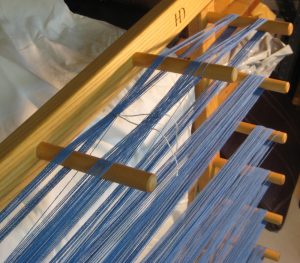
Warping Board
In the photo above and the video below, you see the threads being wound on a warping board. The pegs are 1 yard apart making it easy to get the length you need. 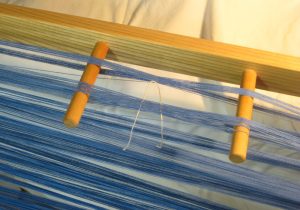
At the top are two extra pegs that allow you to form a figure ‘8’ called a ‘cross’. A yarn is tied through the spaces to maintain the ‘cross’ which helps to keep the threads in order while putting them on the loom.

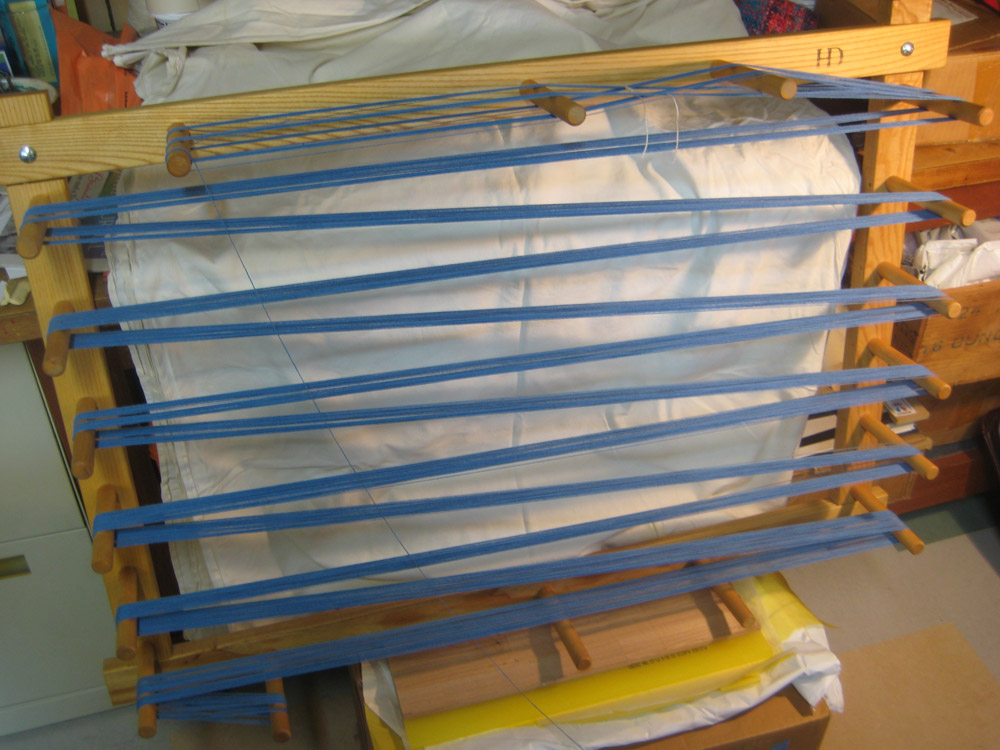
The blue warp threads have all been measured and cut but none of the white warp has been wound yet. Used over half of the cone.
After you finish winding a section of the warp, in this case 2″ worth, you need to chain the warp bundle. It’s done the same way you make a chain in crochet, just using your hands. Start at the end away from the cross and continue until you have “chained” the warp to the tie for the cross. This will keep the warp threads from getting totally tangled up.
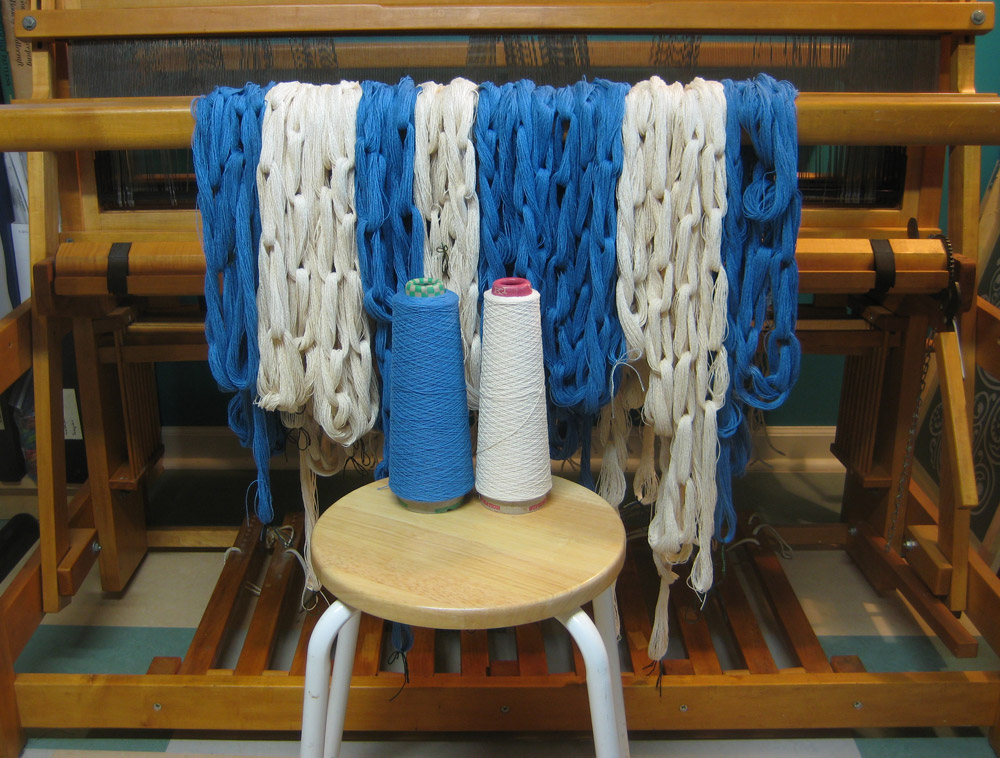
The warp is chained and now ready to be put onto the loom. Note how much yarn is left on the cones.
So if you are inspired to learn how to weave, my beginning weaving class starts Tues. Sept. 13th and meets from 6:30 to 8:30 pm. The registration form is available HERE.
Next post will be about threading the loom.