Some projects just have their own timetable. Apparently, this is one of them.
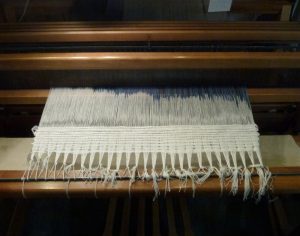
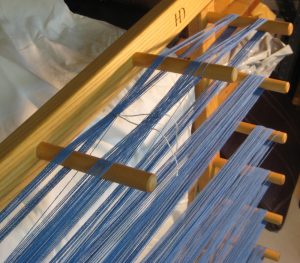
April 2017 – Loom set up since October 2016.
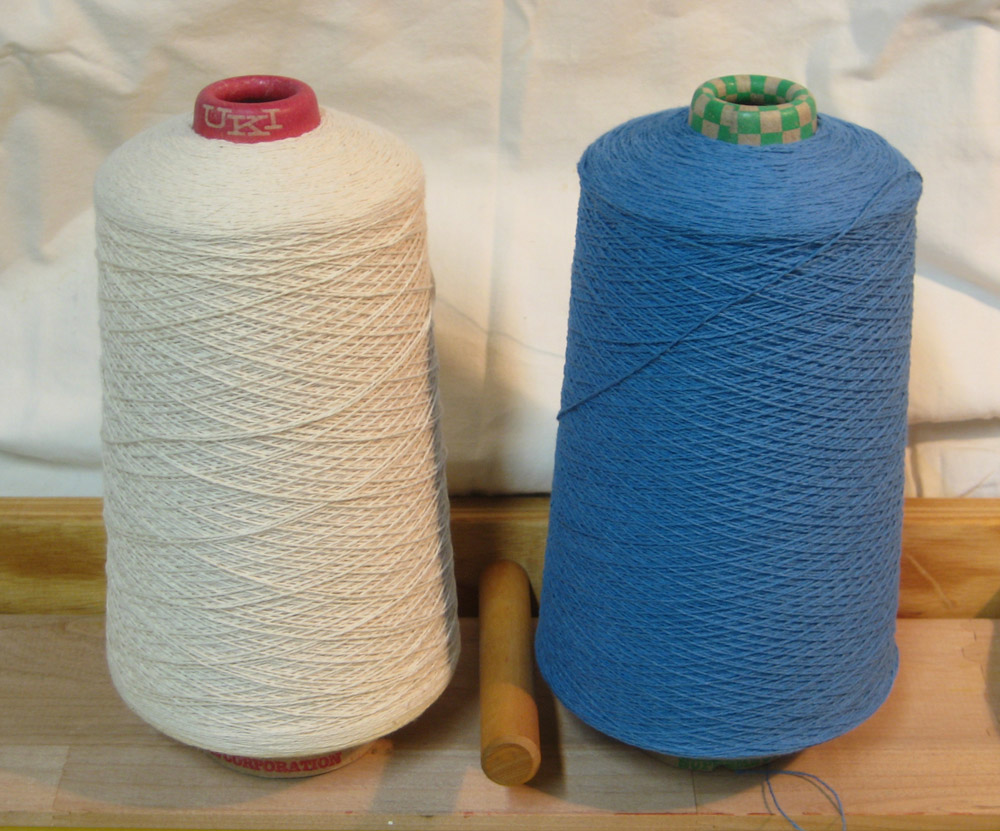
I wanted to weave more painted warp tallit, so I ordered linen yarn for the warp. That was in May of 2014.
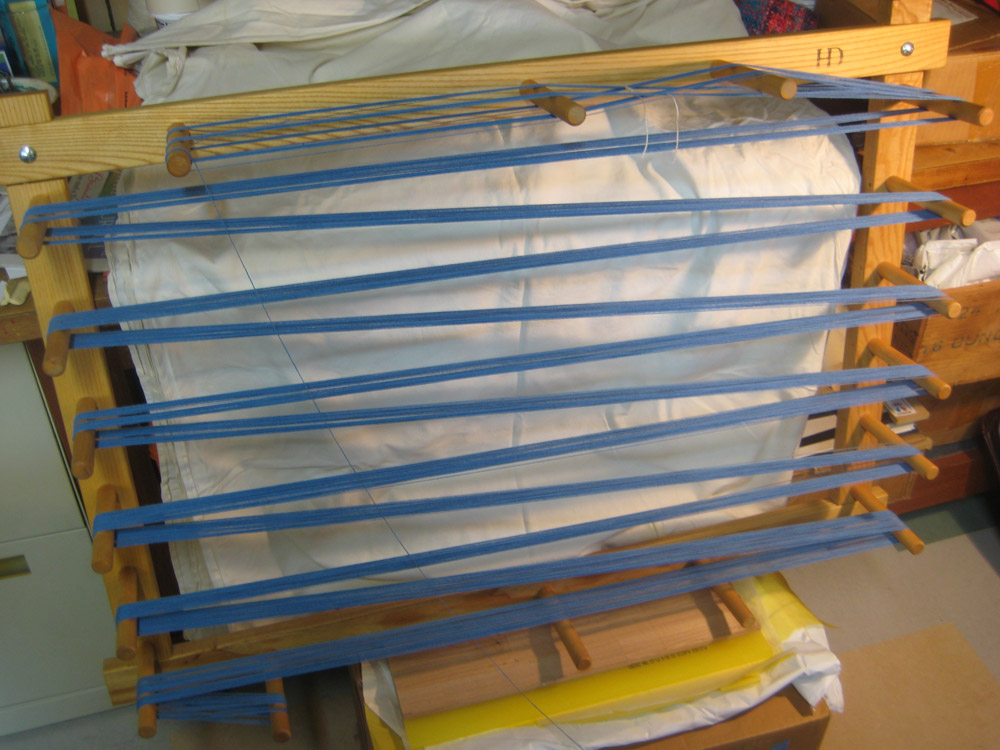
Finally got started at the beginning of Oct. last year (2016). Wound the warp, dyed it and got it on the loom in about 2 weeks. My goal was to have at least one woven by the Seattle Weavers’ Guild sale at the end of the month. With barely a week before the sale, I realized it wasn’t going to happen, and if I tried, it would be rushed, and I wouldn’t enjoy the process. Totally not the right energy to be putting into a piece of sacred cloth.
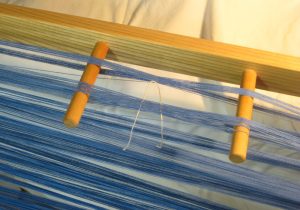
Life happened, so it wasn’t until the beginning of April that I started weaving – Yay! Finished weaving in the header and discovered that the tension on the warp was uneven. Not good, especially with a linen warp since linen has virtually no stretch. Discovered that at the end of the warp, there wasn’t any packing on the warp beam. So, un-wove everything, un-lashed the warp, re-rolled the last yard or so, re-tied on, and got it back to the same point it was when I started that evening. More ‘Life Happening’, and so it sat again.
June 2017 – Loom set up after adjusting the warp tension in April. Ready to start again.
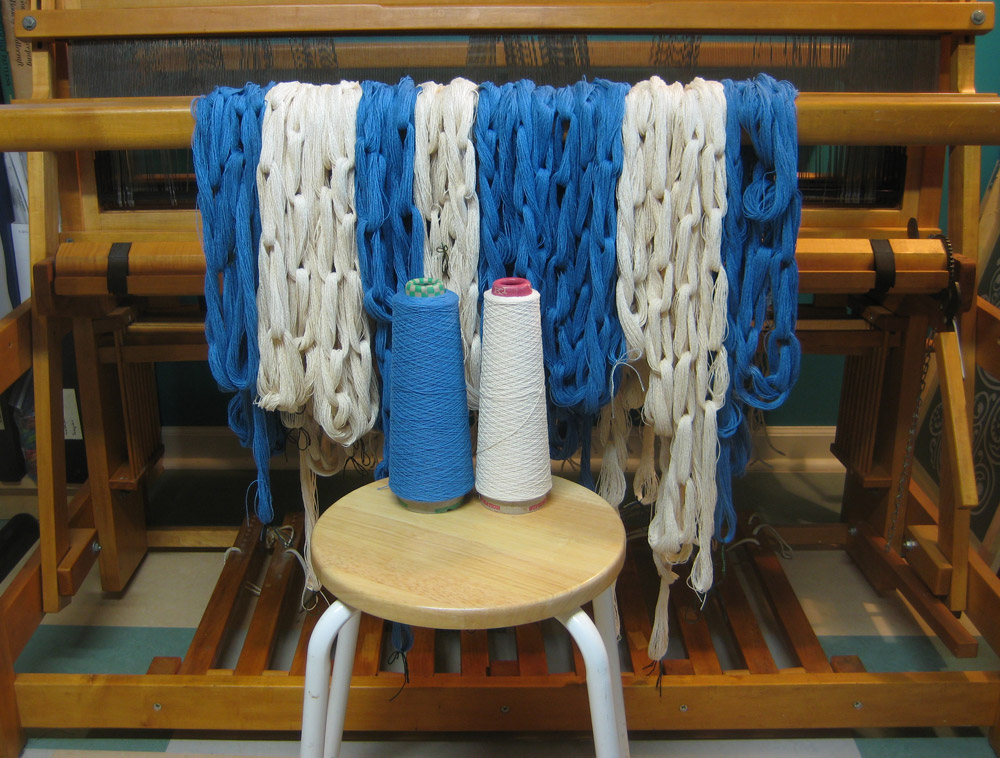
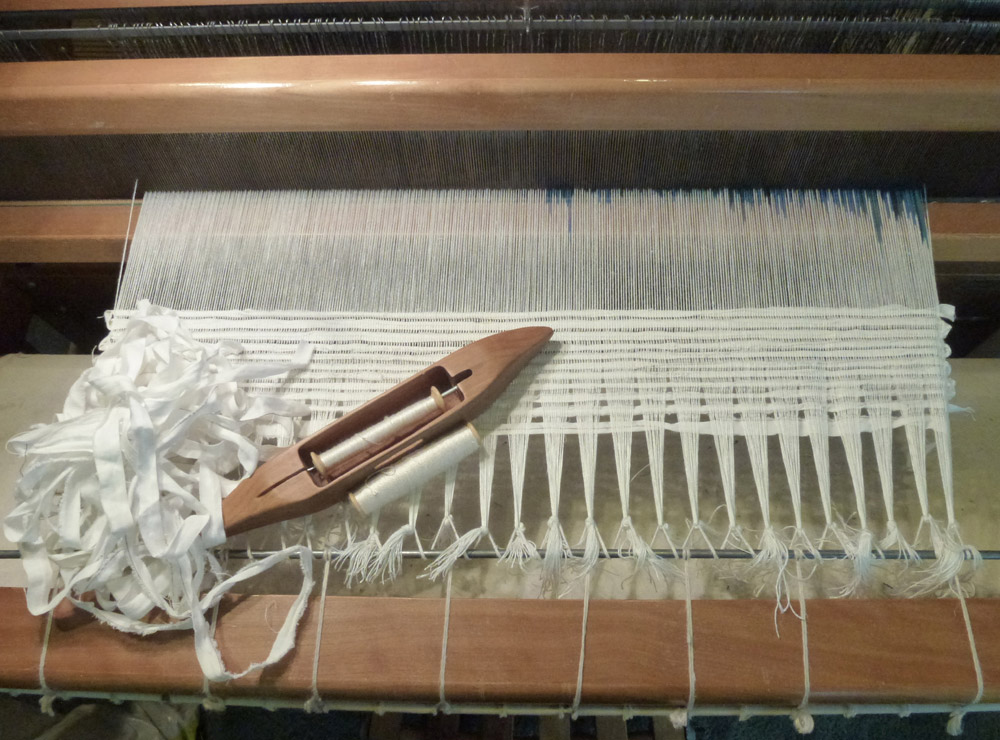
Last night, I started weaving! So, to keep this project moving along, I’m going to post progress pictures of the day’s weaving as I go along. I’ll post them on my Facebook page, and then do a weekly summary on this blog. Hope you enjoy watching the progress. So here we go!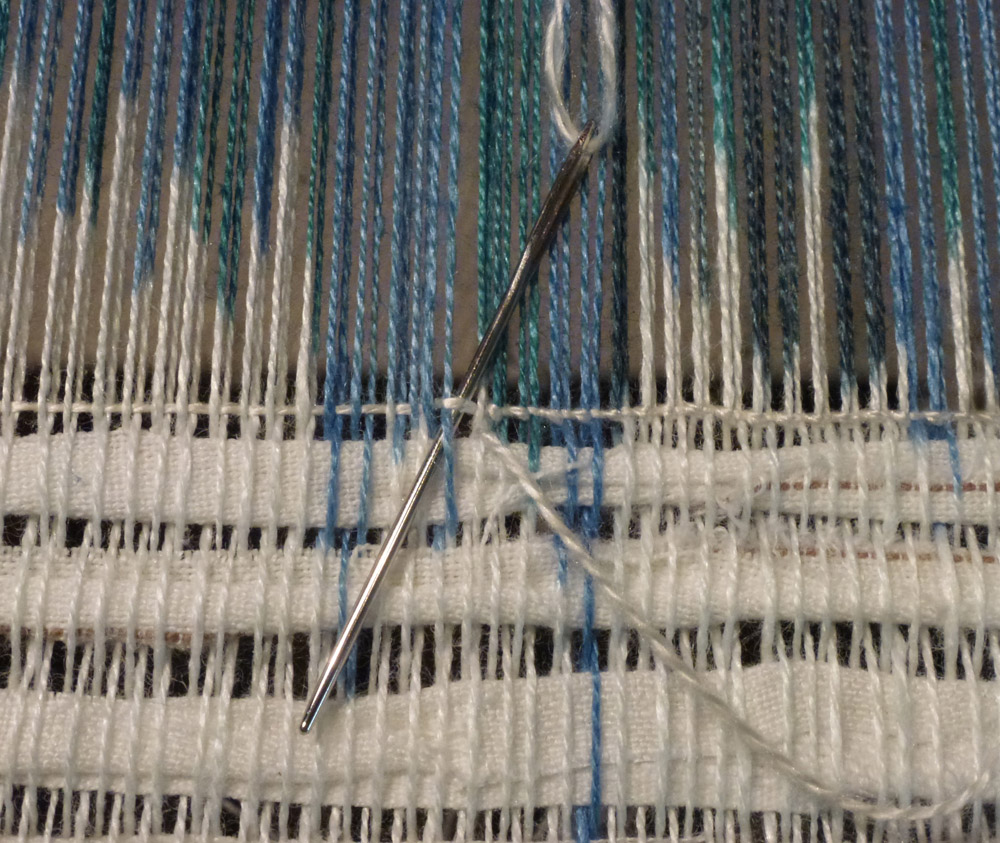 To secure the end of the weaving, I do a type of hemstitching. It essentially creates a row of twining at the beginning so it won’t unravel. Using a long tail of the weft, you go over one warp thread and then diagonally under the next one locking the weft yarn in place.
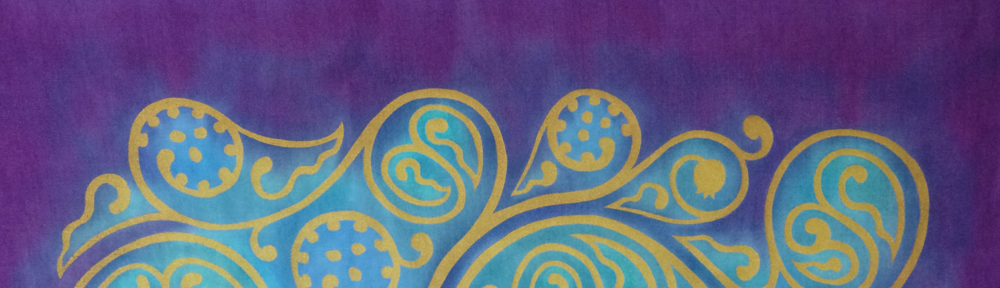
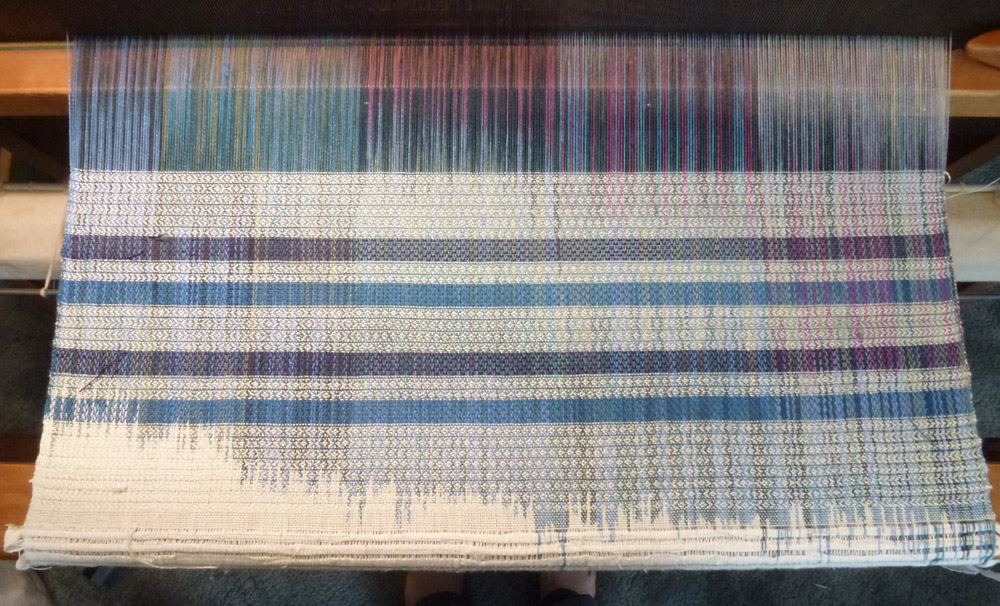 First 10 inches of weaving done. Warp is a 20/2 linen sett at 24 epi. Piece is 27” wide, so there are 648 warp ends. The main weft is a 20/2 silk yarn. The blue and purple are 8/2 Tencel. Note: before doing the hemstitching, wove in more header to the beginning of the dyed part of the warp (no photo).
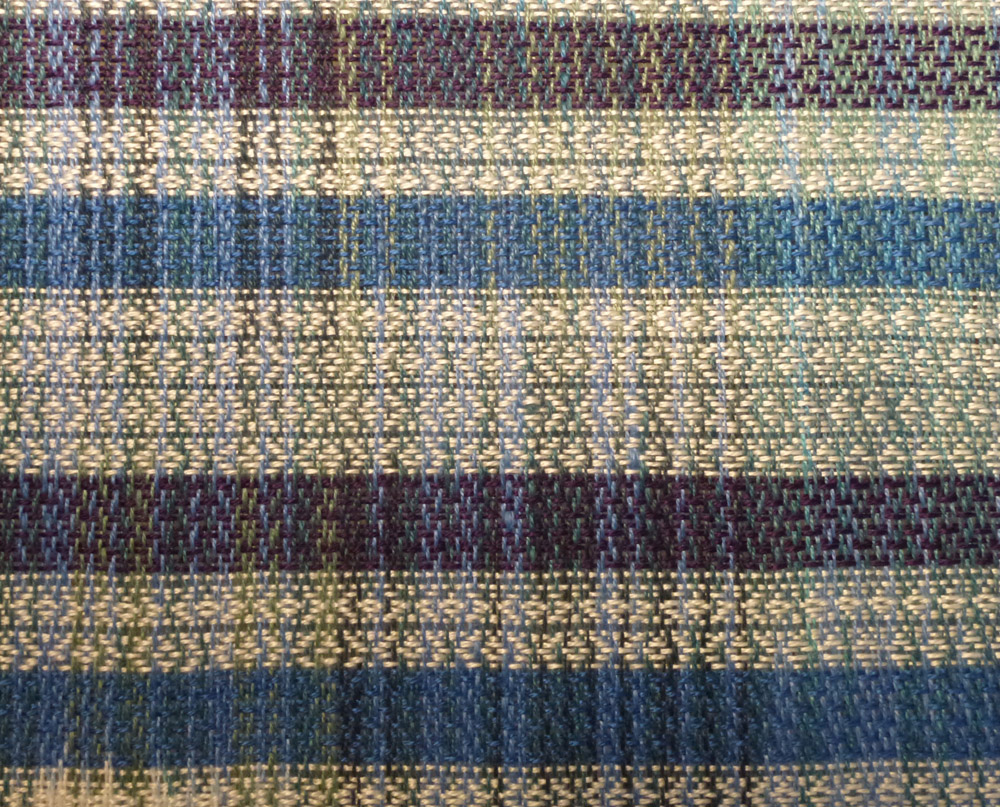
Close up of the weaving.
 Hello again. It’s been a busy almost 2 years since I last posted here. In the meantime, I started an