Happy New Year all. Thought I would start off the year with a look into my studio. On Monday December 17th, I started reorganizing my studio to make room for a new loom. I started by sorting through my boxes of yarn. Sorry, no pictures of that. The process was pretty amazing with every available flat surface covered with balls, cones, and skeins of yarn. The final result doesn’t look much different than before, except now the contents are organized, and all of the boxes are labeled!!! See the last picture for the final result.
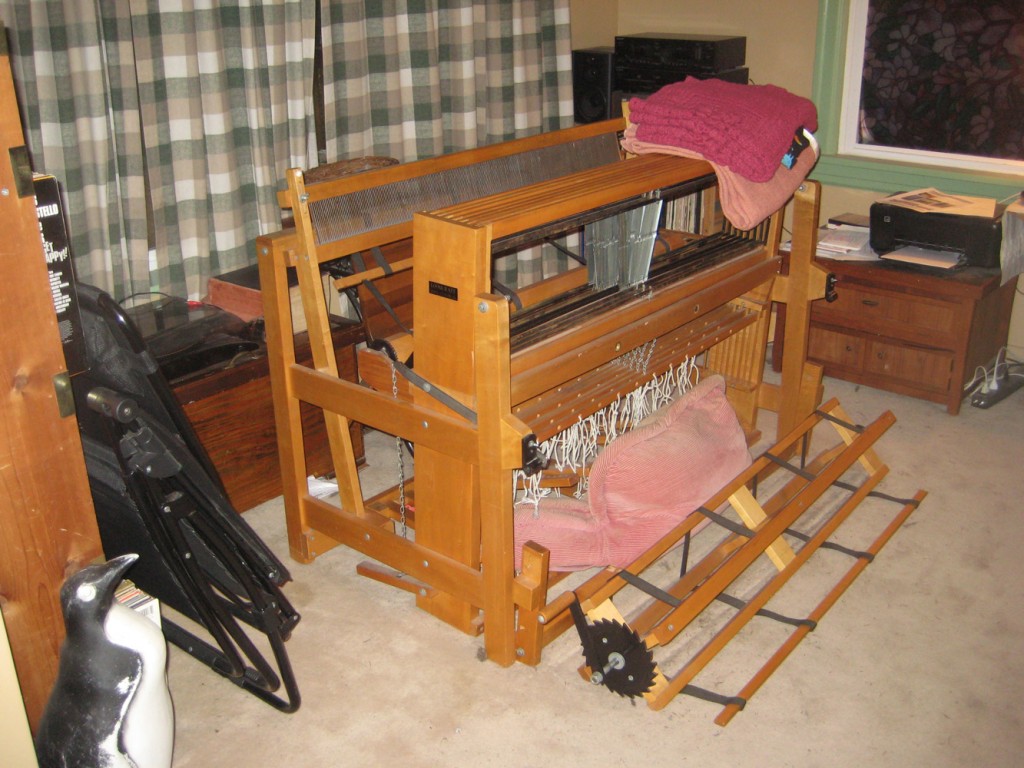 The new to me 8-harness Loomcraft loom, sitting in the living room since last Feb. (2012)
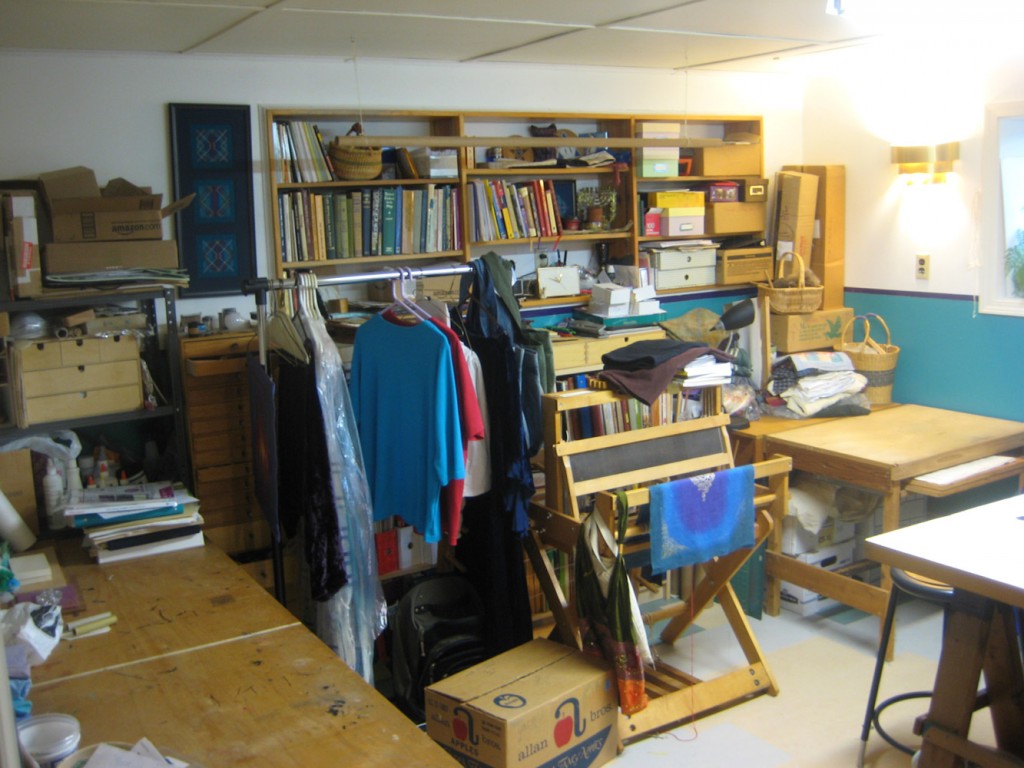 Getting started: the new loom will go in the corner against the wall behind where the small loom is now. This was actually after the first day when I sorted through all of my boxes of yarn. Note the apple crate sitting on the floor between the loom and the table – it contains a bunch of jute that I brought with me to Seattle from CA (in 1980) as well as a couple of very old projects which I actually finished in the past couple of weeks!
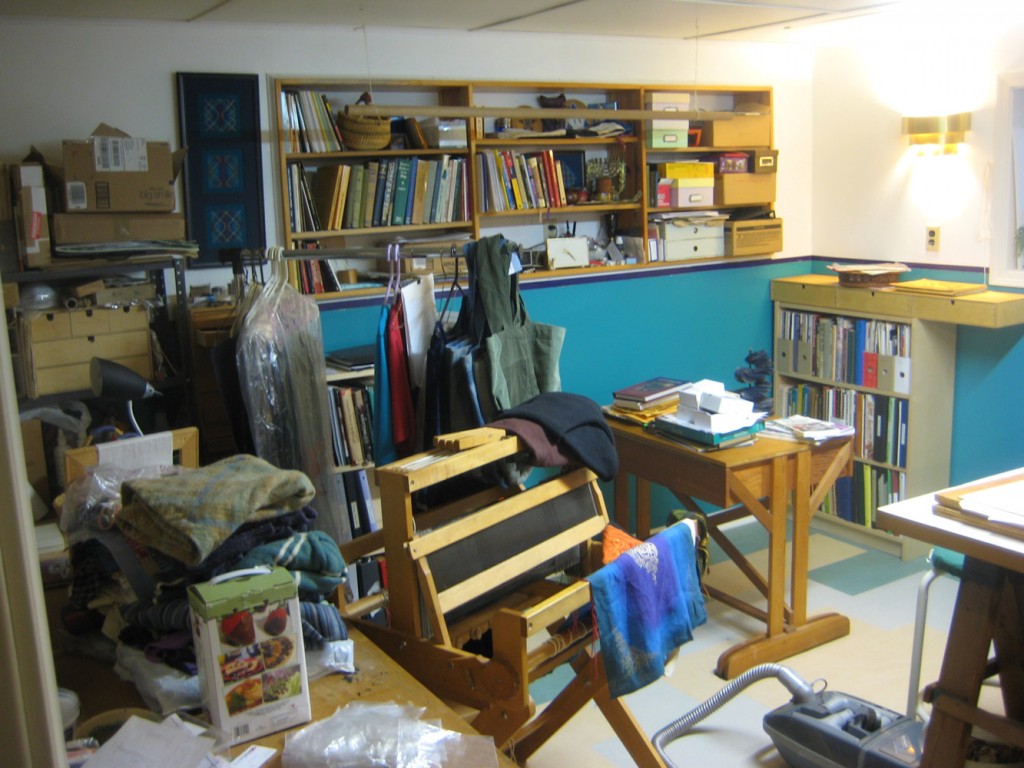 Day 2: The corner has been cleared out, and one bookshelf moved and the contents sorted. I won’t have easy access to this shelf, so it’s got the books and other things I don’t use often. The loom will be going where the desk is. And yes, the pile on the table to the left, is some of the stuff that was on the tables in the corner, still need to figure out what to do with all of it.
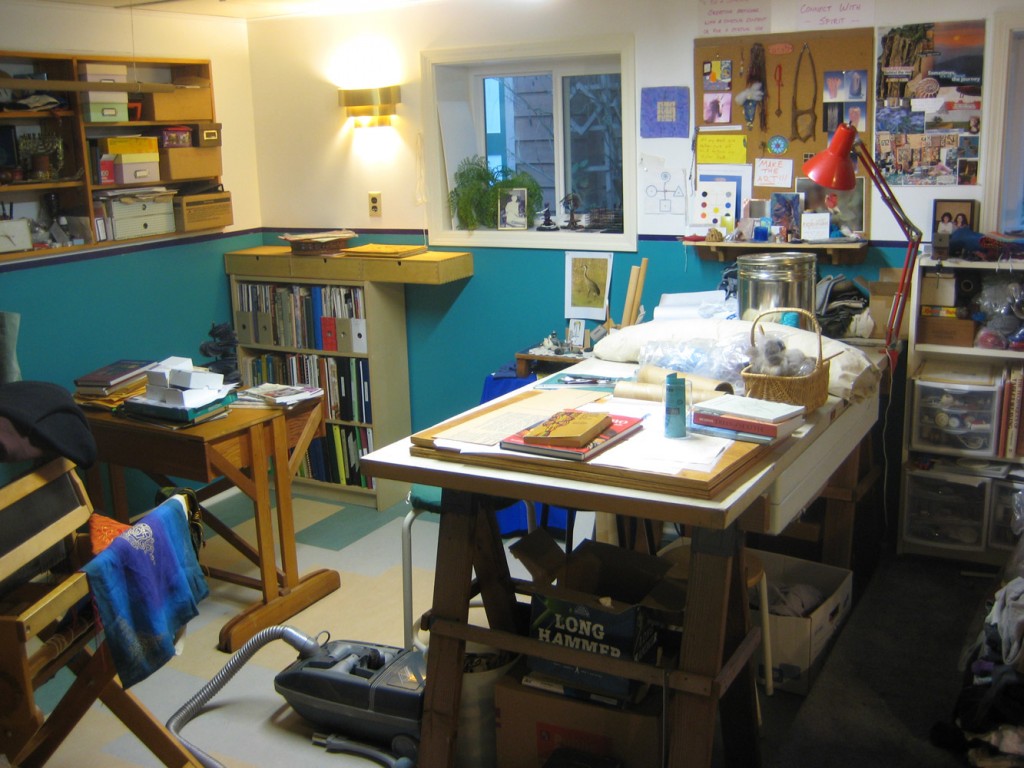 Day 2: Some of the chaos created by the sorting process. I also discovered that there is space for another IKEA Billy shelf next to the one in the corner! One of the short narrow ones will fit next to it, under the drawer unit. Something for the future.
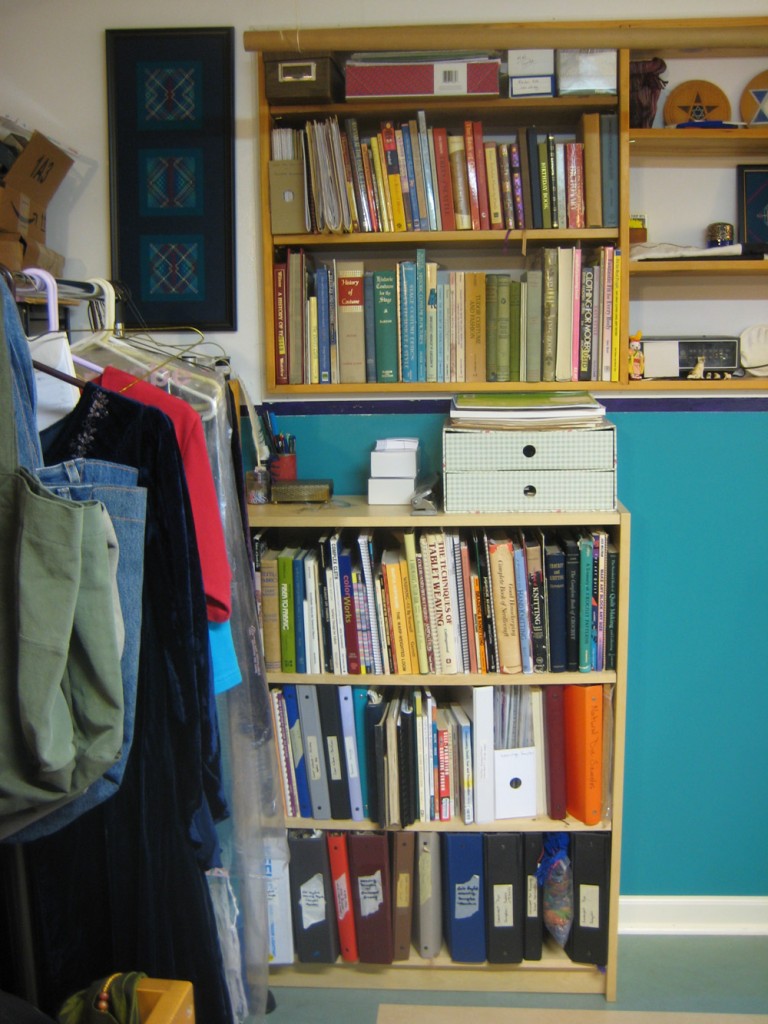 Day 3: Books now organized by topic, not size. Note the second shelf down has almost all of my textile history, costume history and sewing books. Yup, that’s one whole shelf.
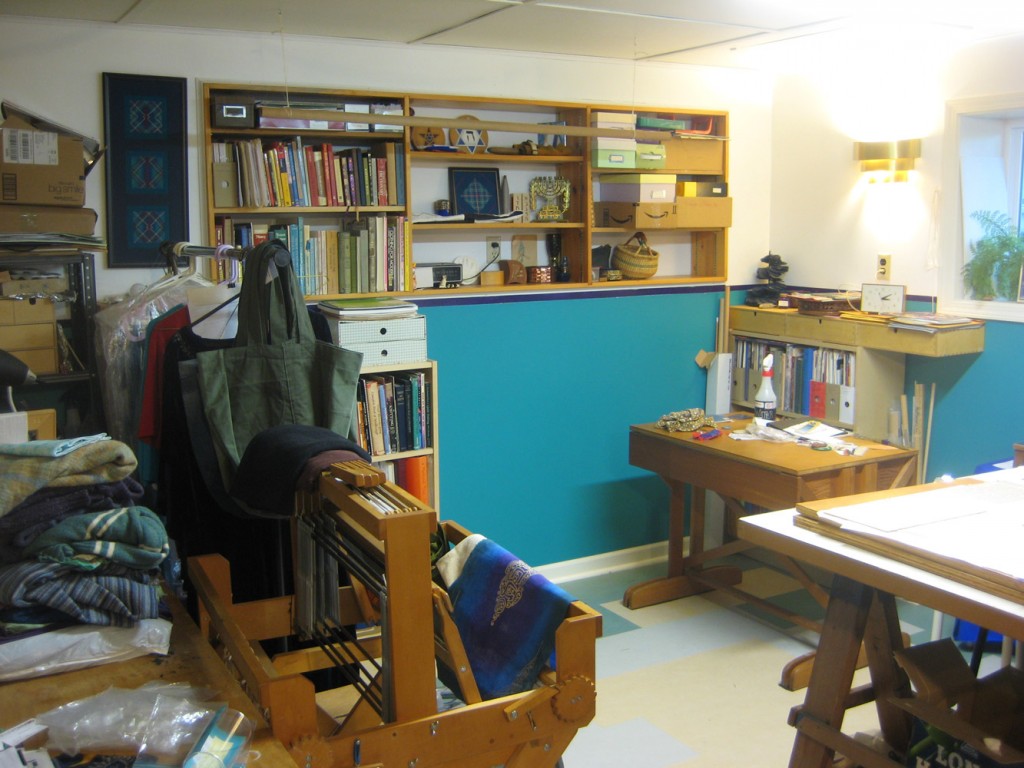 Day 4: Almost ready to move the loom, need to move the desk and the small loom, otherwise the space is finally ready. It took an insane amount of time to go through and decide where to put the rest of the stuff on the shelves that will be behind the loom. Kept getting side tracked with little projects that needed doing.
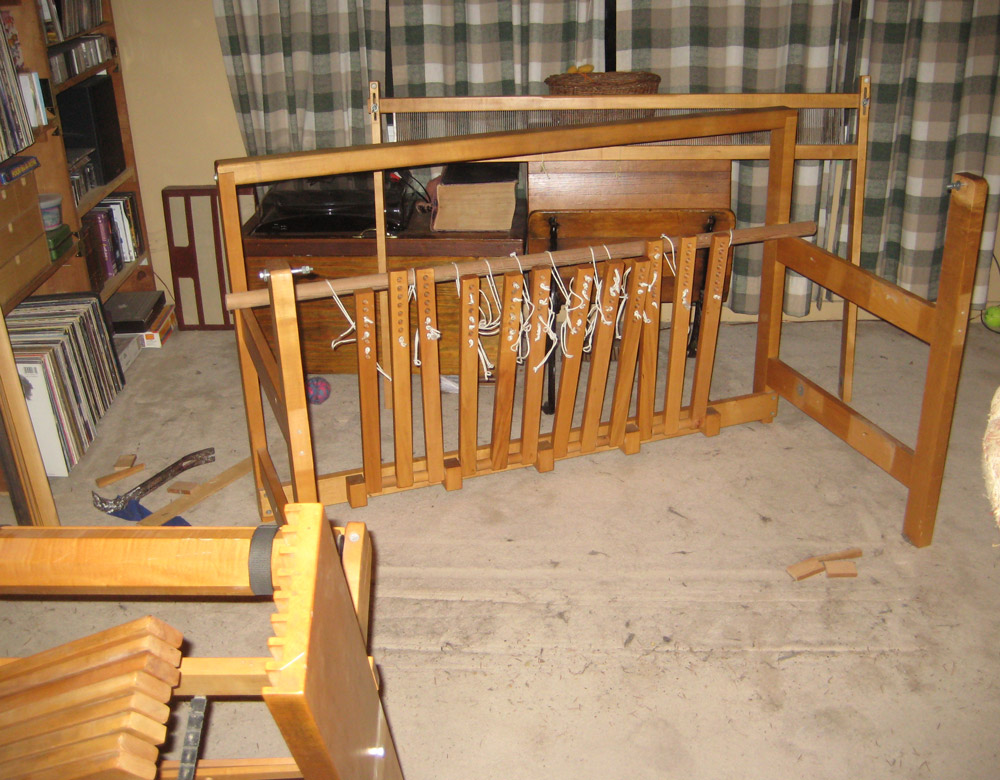 Day 4: The loom disassembled so it can be moved downstairs. This is the frame with the treadles held up on a dowel so they won’t flop around while we are moving it.
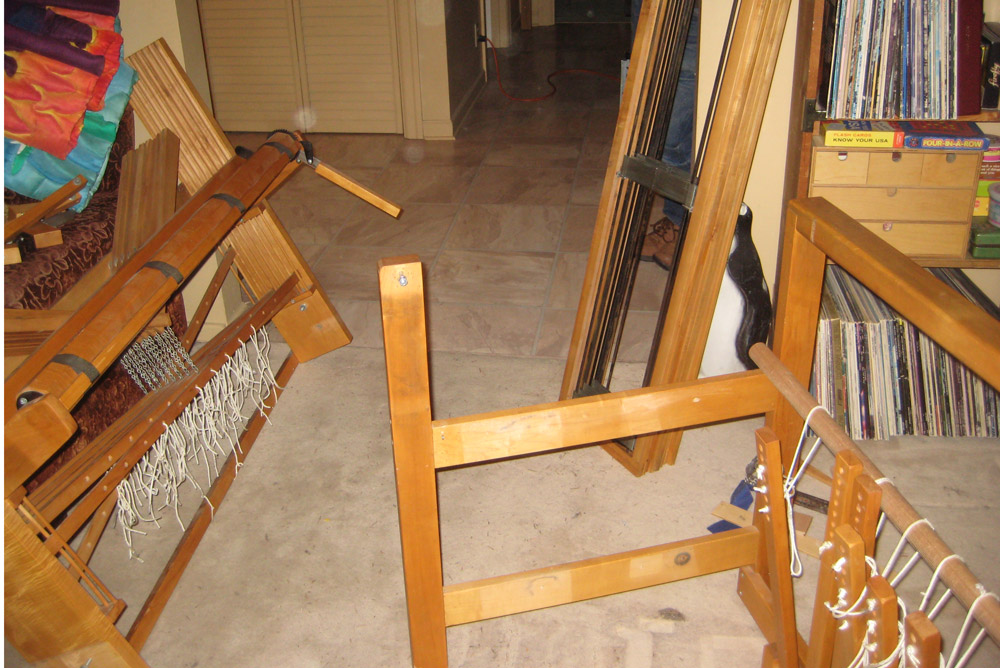 Day 4: Another shot of the loom in parts. On the left is the cloth beam attached to the jacks that raise and lower the harnesses. On the right, leaning up against the wall are the harnesses.
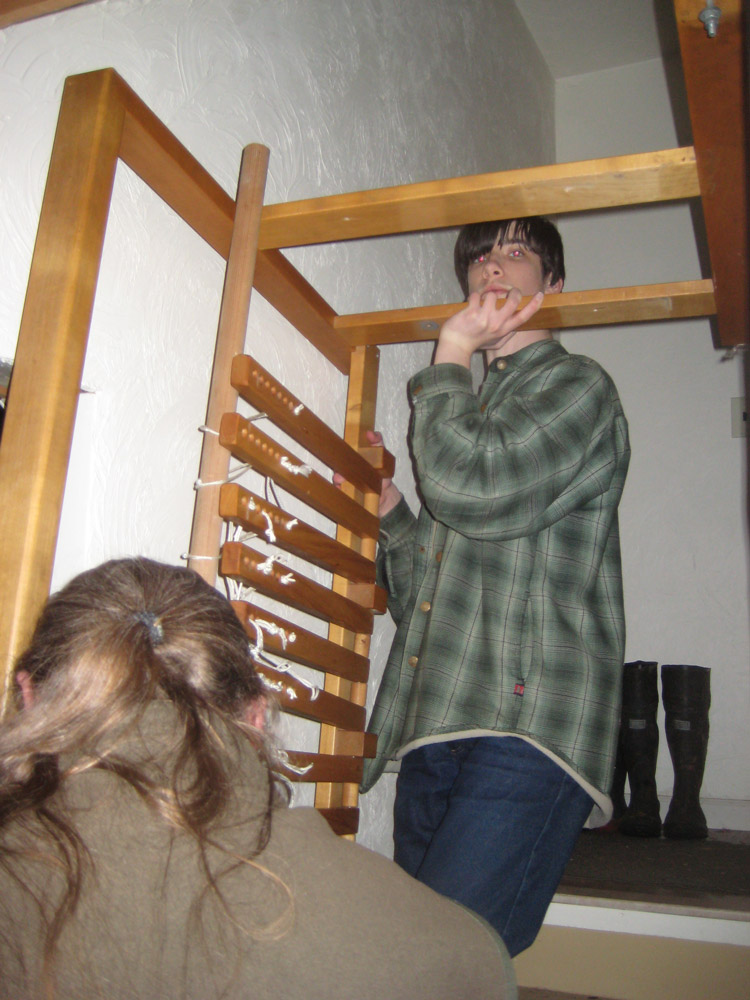 Day 4: My husband and son moving the frame down the stairs. The stairwell into our basement is ‘U’ shaped. You go down 6 steps to a landing, make a 90 degree turn, across the landing and then another 90 degree turn to go down another 6 steps. Plus the stairwell is only 32″ wide and the loom frame is 28″ deep, so not a lot of room to spare.
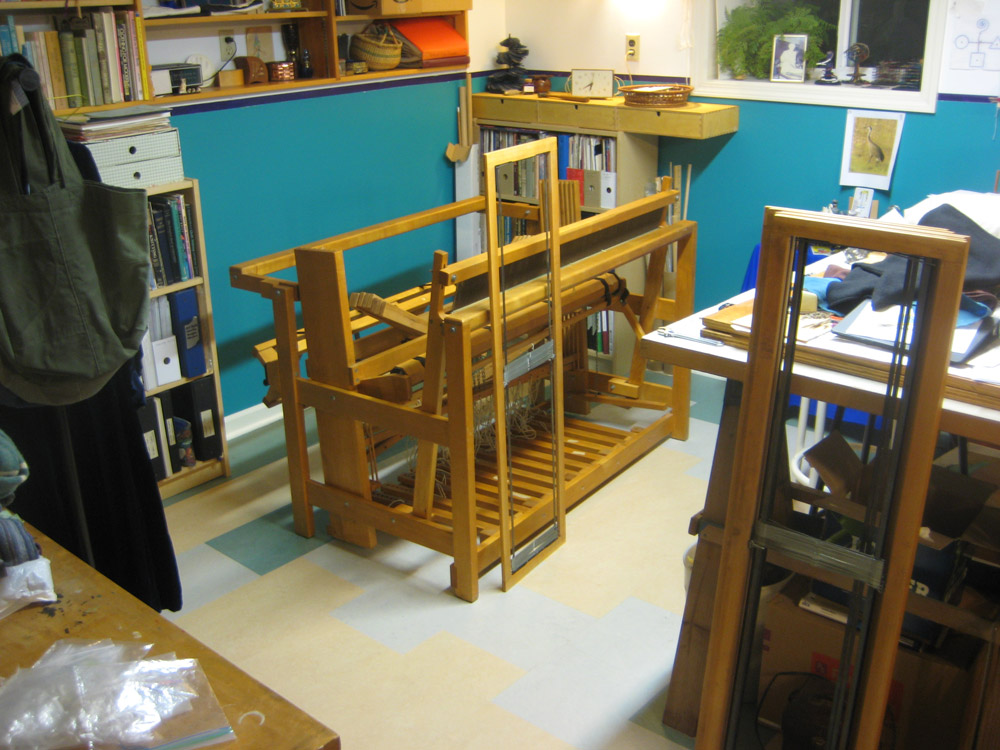 Day 4: The loom reassembled!! The harnesses aren’t in place yet, as they needed cleaning.
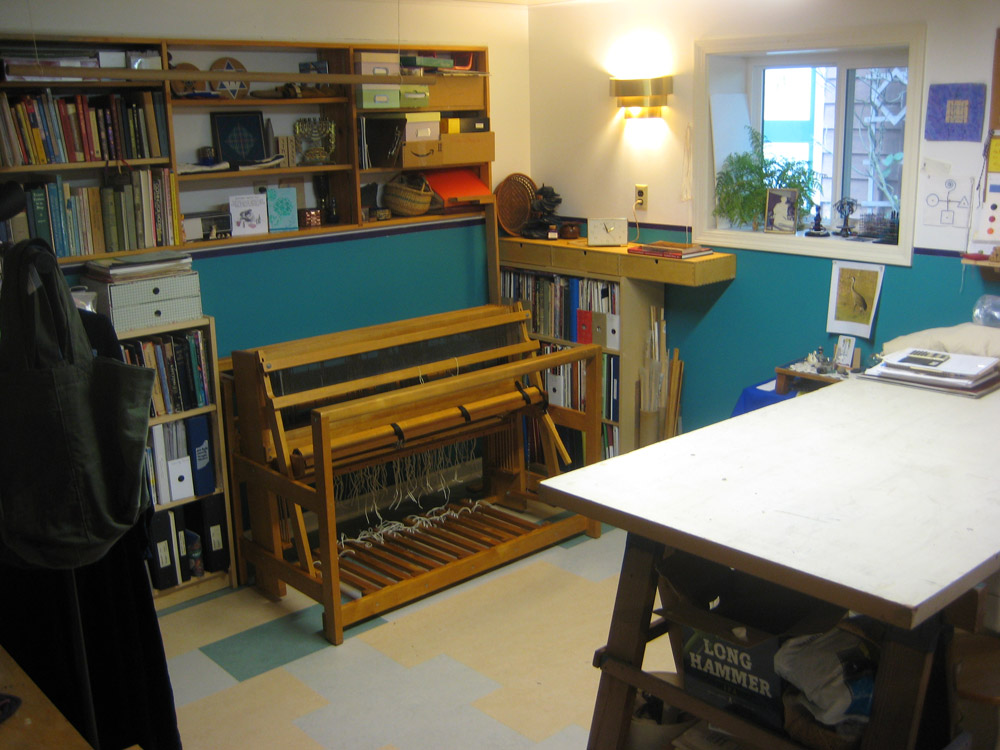 About 6 days later (after Xmas) The loom is all ready to go. I spent about 3 hours cleaning the metal that the heddles sit on and another 3 hours cleaning all of the wood with olive oil and lemon juice (2:1 ratio, works great). Once I decide on my first project, all that needs to be done is make sure there are enough heddles on each harness, and tie up the treadles. So many options.
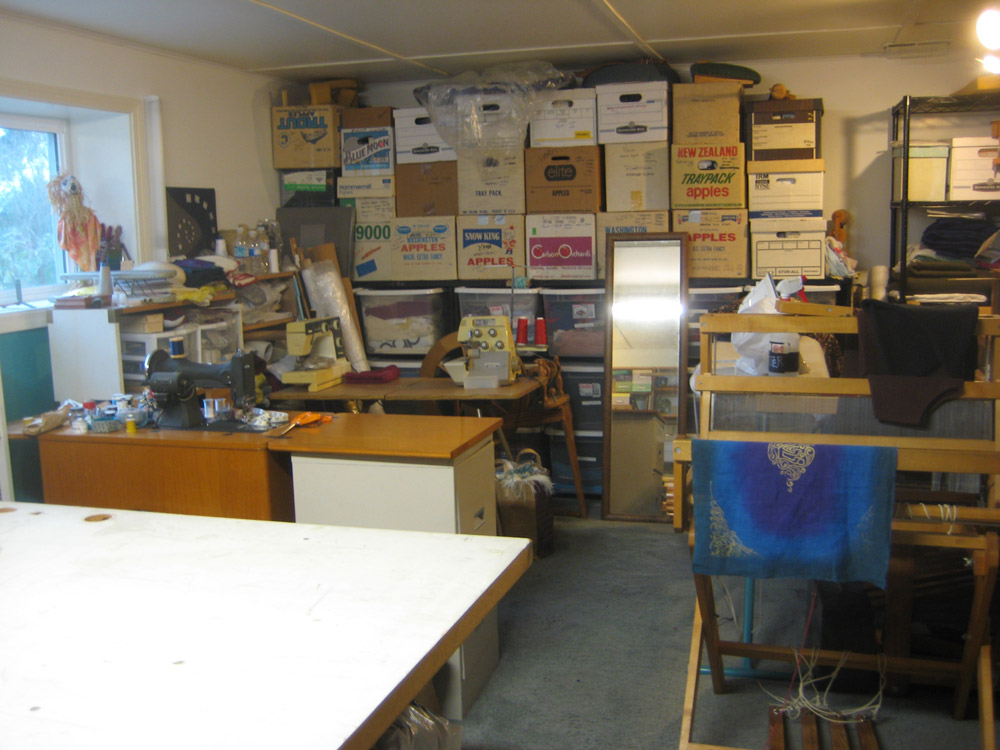 And here’s the other half of the studio finally cleaned up, and ready to get started on some sewing projects. The twelve boxes in the middle of the upper shelves contain all the now-sorted yarn. Still need to figure out what to do with the small loom, that’s on the right.
My studio is now ready for the next ‘fiber-brained’ adventure.
